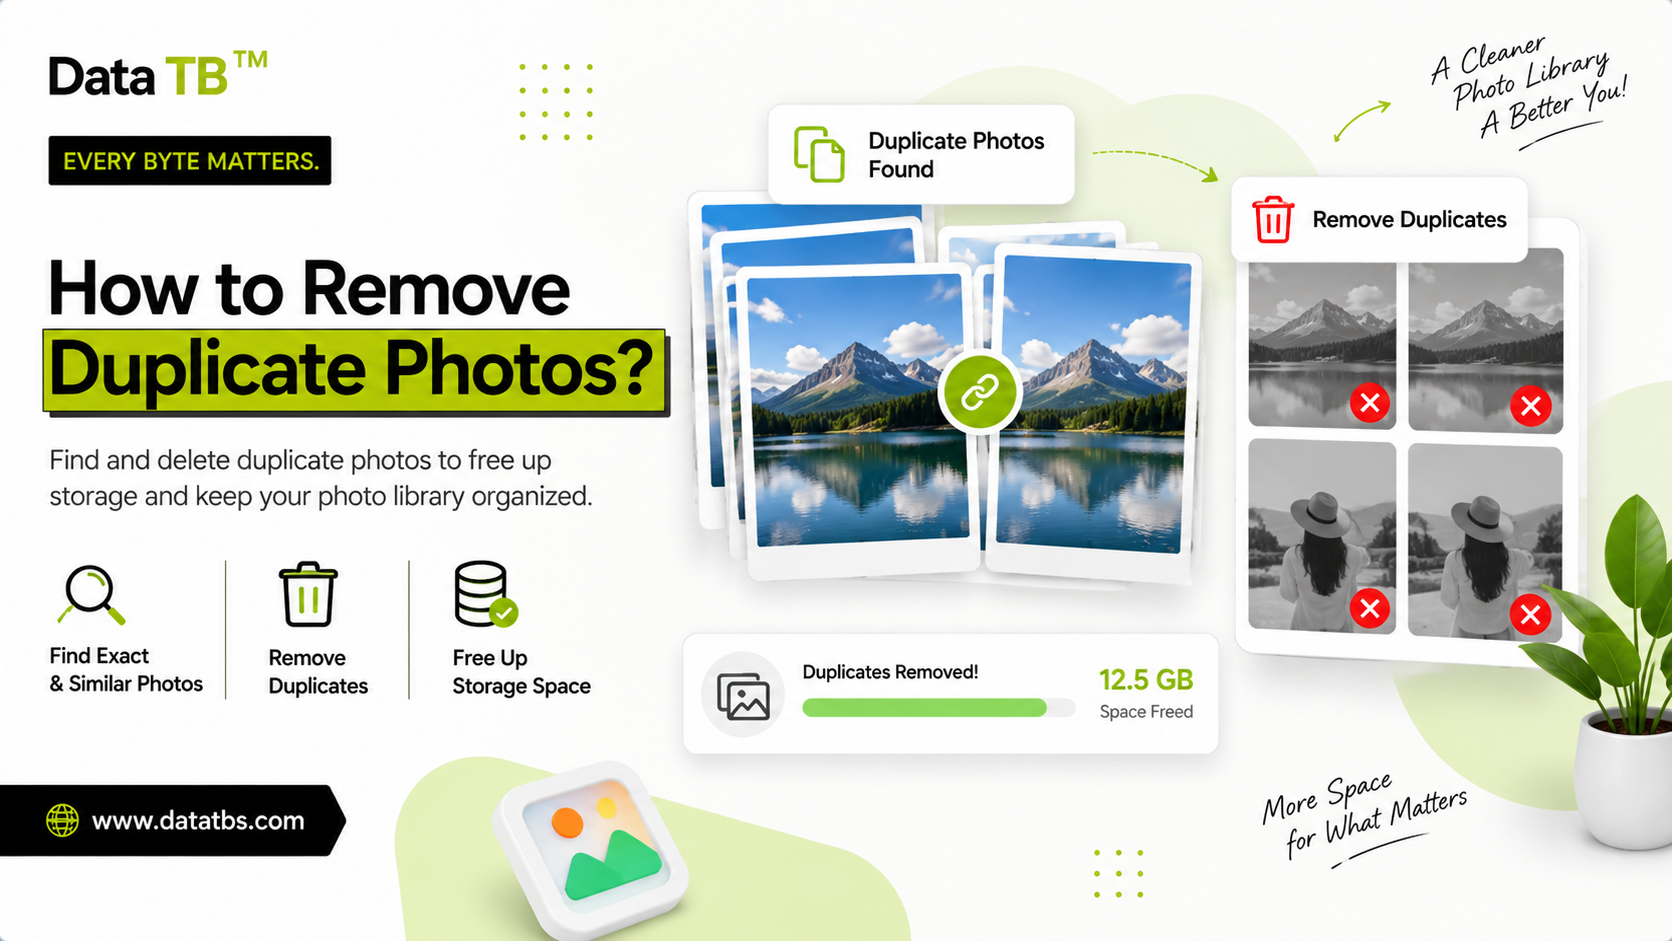
How to Remove Duplicate Photos from Your PC: The Complete Guide
Your hard drive is probably not actually full. It is repeating itself. A huge share of the storage taken up on most Windows PCs is not new content at all, it is the same photo saved more than once, under a different name, sitting in a folder that has been forgotten about for years. This guide explains, in real depth, exactly why that happens on a local PC, why Windows Search cannot help you fix it no matter how carefully you use it, and how to clean it up properly and permanently using DT Disk Duplicate Finder.
Unlike a quick surface level tip list, this guide is meant to actually walk you through the full reasoning, the full process, and the full set of decisions involved in cleaning duplicate photos off a Windows PC, whether that PC belongs to a casual home user, a photographer with years of shoots archived locally, or a small office managing shared machines.
Table of Contents
- 1. Understanding Why Local Storage Fills Up With Repetition, Not Growth
- 2. The Real Habits That Create Duplicate Photos on a PC
- 3. Why Windows Search and File Explorer Cannot Find Real Duplicates
- 4. The Different Types of Duplicate Photos on a Local Drive
- 5. What a Genuinely Reliable Disk Duplicate Finder Needs to Do
- 6. Introducing DT Disk Duplicate Finder
- 7. Full Step by Step Guide to Removing Duplicate Photos from Your PC
- 8. Understanding the Three Removal Modes and When to Use Each
- 9. Cleaning an External Drive, a Second Internal Drive, or a Backup Drive
- 10. Category Based Scanning: Why Filtering to Images Matters
- 11. Using the Storage Dashboard to Find Duplicates Before You Even Scan
- 12. Disk Duplicate Cleanup for Different Types of Users
- 13. Common Real World Situations Where PC Duplicate Photos Pile Up
- 14. Comparing Manual Cleanup, Windows Search, and DT Disk Duplicate Finder
- 15. The Built In Junk Cleaner: A Second Layer of Cleanup
- 16. Best Practices to Stop Duplicate Photos from Returning
- 17. A Simple Quarterly PC Cleanup Checklist
- 18. Frequently Asked Questions
- 19. Final Thoughts
1. Understanding Why Local Storage Fills Up With Repetition, Not Growth
When a Windows PC starts running low on disk space, the natural assumption is that the amount of actual content has simply grown too large for the drive. In reality, a very large share of used disk space on most PCs, especially ones that have been in use for more than a year or two, is not new content at all. It is the exact same photo, saved and re saved, copied and re copied, across multiple folders, multiple backup attempts, and multiple editing sessions, without ever being cleaned up afterward.
This distinction matters because it changes the entire approach to solving the problem. If the drive were genuinely full of unique content, the only real solution would be buying more storage or moving files elsewhere. But if a meaningful portion of that space is duplication, the correct first step is not to buy a bigger drive at all, it is to properly identify and remove the repeated content first, which often recovers a surprising amount of space without spending anything.
2. The Real Habits That Create Duplicate Photos on a PC
Photos duplicate themselves on a local PC through habits that feel completely responsible and normal in the moment they happen.
- A phone gets connected by cable and its entire camera roll gets copied into a folder for safekeeping. Months later the same phone gets connected again, and instead of copying only the photos taken since the last transfer, the entire camera roll gets copied a second time into a new dated folder, heavily overlapping with the first one.
- A photo gets edited in an image editor, then exported and saved under a new file name so the untouched original stays intact as a safety net. The export is confirmed to look correct, but the original file is never actually deleted afterward, and both versions sit in the same photos folder indefinitely.
- A project folder full of photos gets copied to a second location on the same drive before starting a big edit, purely as a precaution in case something goes wrong. Once the edit finishes successfully, that safety copy is simply forgotten and never removed.
- A PC gets upgraded to a new drive or a new machine entirely, and instead of a clean, deliberate transfer, an entire old user folder gets copied wholesale into the new setup, overlapping with photos that may have already been partially transferred earlier through a different backup attempt.
- Downloads accumulate silently. The same email attachment, shared photo, or downloaded image gets saved more than once over time, with a downloads folder quietly filling up with repeat copies automatically renamed by the browser as photo(1).jpg, photo(2).jpg, and so on.
3. Why Windows Search and File Explorer Cannot Find Real Duplicates
Windows Search, and the built in Photos app, both match files primarily by file name and basic metadata, not by the actual content stored inside the photo itself. Two identical photos saved as IMG2044.jpg and IMG2044 (1).jpg will show up as two completely separate results in a search, and two photos with entirely different, unrelated file names but genuinely identical content will not be linked together at all, even though they are the exact same file byte for byte.
File Explorer's sort and filter options can help you browse by date or file type, but they offer no way to compare the actual visual content of one photo against another. Even the thumbnail preview view, which lets you scroll through images visually, becomes unreliable once a folder contains more than a few hundred photos, since human eyes simply cannot reliably catch every subtle repeat across thousands of thumbnails scattered across dozens of folders.
This is a structural limitation, not a bug that might get fixed in a future Windows update. Windows Search was built to help you find a specific file you already know exists, not to compare every file against every other file on the drive to detect unnoticed repetition. Solving that specific problem properly requires a tool built for exactly that purpose.
4. The Different Types of Duplicate Photos on a Local Drive
Exact duplicates are files where the content is byte for byte identical between two or more copies. These are the most straightforward to identify with complete confidence, since there is genuinely no difference between the files beyond their location or file name.
Renamed duplicates are files where the actual photo content is identical, but the file name has changed at some point, whether through manual renaming, an export from editing software, or a photo transfer app that generated a new automatic file name during copying. These are extremely common on a local PC specifically, since Windows itself automatically appends (1), (2), and similar suffixes whenever a file with the same name already exists in a folder, effectively hiding true duplicates behind slightly different names by default.
Re exported duplicates are files where a photo has been opened, adjusted, and saved again, sometimes at a different resolution or compression level, while remaining visually the same image. These require slightly more careful review depending on how strict the comparison method used is.
For the purposes of a proper disk cleanup, and for what DT Disk Duplicate Finder is built to solve reliably, the primary focus is on exact duplicates and renamed duplicates, since these can be identified with genuine certainty through content based comparison and removed safely without ever risking a unique photo by mistake.
5. What a Genuinely Reliable Disk Duplicate Finder Needs to Do
Before looking at a specific tool, it is worth understanding exactly what separates a properly built disk duplicate finder from a basic one that only solves part of the problem.
- It needs to scan the entire drive, including every internal partition, not just a single folder chosen manually, since duplicates are frequently scattered across completely different folders that have no obvious connection to each other.
- It needs to compare files by actual content, not just file name and size, since as covered above, Windows itself frequently creates renamed duplicates automatically the moment a file is copied into a folder that already contains a file with the same name.
- It needs to support a wide range of file formats beyond just the most common photo types, since a real photo library often includes RAW files from a camera, HEIC files from a phone, and various internal working formats that a basic tool focused only on JPG and PNG would simply skip over entirely.
- It needs to show every result grouped clearly for manual review before anything is removed, with a genuine choice in how removal happens, rather than forcing a single default action on every duplicate found.
- It needs to offer a recoverable removal option by default, so a mistake during review does not become permanent and irreversible the moment a removal button is clicked.
6. Introducing DT Disk Duplicate Finder
DT Disk Duplicate Finder scans an entire Windows PC, every internal drive and partition, and compares files by actual content rather than file name, across more than 550 supported file formats. Photos are covered in complete depth, including JPG, PNG, HEIC, RAW formats from most camera brands, GIF, and TIFF, alongside videos, documents, and every other file type quietly taking up space on the same drive.
Everything runs entirely on your own local machine. Files are scanned and compared on device, and nothing is ever uploaded anywhere to detect duplicates, which means the entire process works completely offline and does not depend on internet speed or availability in any way.
Duplicate photos are identified through content based hash matching, so a renamed copy or a photo re saved under a completely different file name during editing still gets caught correctly and grouped with its original, something Windows Search is structurally unable to do.
Nothing is ever deleted automatically. Every duplicate group is shown for review first, with each group displaying the full folder path of every file inside it and the exact amount of space that group is wasting. Once you confirm what to remove, you get a genuine choice between moving files to the Recycle Bin for a fully recoverable cleanup, moving them to a separate review folder to decide on later, or permanently deleting them if you already know with confidence that the space needs to come back immediately.
7. Full Step by Step Guide to Removing Duplicate Photos from Your PC
Step 1: Download and open DT Disk Duplicate Finder Install the app on your Windows PC. There is no signup required and no card needed to run a full scan, so the entire process, from scanning to reviewing full results, can be tried completely before deciding anything about purchasing.
Step 2: Check your storage overview first Once the app opens, you get an immediate breakdown of the selected drive, including total capacity, used and free space shown clearly on a donut chart, your largest folders ranked by size, and a breakdown of which file types are taking up the most room overall. This single screen often points straight to where duplicate photos are likely hiding, such as an old backup folder that has quietly grown to a surprising size over the years without anyone noticing.
Step 3: Choose your target disk Pick the specific drive you want to scan. If your primary photo folder lives on your main internal drive, select that one first. If you also keep a separate photo archive on a second internal drive or a distinct partition, plan to run that one as a separate scan once the first one is fully complete.
Step 4: Narrow the scan to the Images category Instead of running a full sweep across every single file type on the drive, filter the scan down specifically to the Images category, which covers JPG, PNG, HEIC, RAW formats, GIF, TIFF and more. This keeps the scan noticeably faster and keeps the results tightly focused purely on photos, which is especially useful if your real goal right now is photo cleanup specifically rather than a full disk audit.
Step 5: Run the scan Start the scan and let the app compare every photo on the selected drive by its actual content, not its file name. Duplicates are grouped automatically as the scan progresses, with each group showing exactly how much space is being wasted by that specific set of repeated photos, and the scan progress is shown live with real time file counts.
Step 6: Review every duplicate group carefully Results are organized into clear, distinct groups, each one showing the exact number of duplicate photos found within it and the precise amount of space wasted by that group as a whole. Every individual file shown includes its complete folder path, so you can confirm exactly where each copy is sitting on your drive before making any decision about it.
Step 7: Use Keep Only First for fast, straightforward groups For groups where there is a clear original photo and the rest are simple, obvious copies, a single click on Keep Only First automatically keeps the first file in that group and selects the rest for removal, removing the need to manually tick every checkbox one by one across a large number of groups.
Step 8: Choose exactly how to remove the duplicates Select the duplicate photos you want to act on, either individually or by entire group, then decide precisely how they should be handled. Move to Bin keeps a fully recoverable copy inside the normal Windows Recycle Bin. Move to Folder sets duplicates aside in one dedicated location so you can review them a second time later without cluttering your original photo folders in the meantime. Permanent Delete removes them immediately, reserved for situations where you are already fully confident and genuinely need the space back right away.
Step 9: Run the built in Junk Cleaner as a final pass Once duplicate photos have been fully cleared, the same app includes a Junk Cleaner that clears out system caches, temporary files, and empty folders left behind by editing software, phone transfer apps, and general everyday use, recovering additional space beyond just the duplicate photos themselves in the very same session.
Step 10: Add recurring folders to the exclusion list If certain folders are known to always contain large volumes of temporary or working files that never need checking, add them to the exclusion list inside Preferences so future scans automatically skip them, making every scan after the first one noticeably faster.
8. Understanding the Three Removal Modes and When to Use Each
- Move to Bin is the safest available option and the correct default choice for the vast majority of cleanups, since it keeps every removed photo fully recoverable through the normal Windows Recycle Bin, exactly as though the file had been deleted manually through File Explorer itself.
- Move to Folder is the right choice specifically when you are not fully confident about a particular group and want a genuine second look at it later, without leaving those files scattered across your original folder structure in the meantime. This option is particularly useful for larger cleanups spread across more than one sitting.
- Permanent Delete should be reserved specifically for situations where the disk space genuinely needs to come back immediately, and you have already reviewed the group carefully enough to be fully confident in the decision, since this action deliberately skips the normal recovery step entirely and cannot be undone through the Recycle Bin afterward.
9. Cleaning an External Drive, a Second Internal Drive, or a Backup Drive
DT Disk Duplicate Finder is not limited to a single system drive. External USB drives and secondary internal drives can be selected the same way, directly from the target disk step described above, which matters a great deal specifically for photographers, video editors, and anyone who keeps a dedicated photo or project archive drive completely separate from their main PC drive.
Running the same full scan process on an external backup drive very often reveals just as much duplication as the main system drive does, sometimes more, especially when that specific drive has been used as a manual backup destination repeatedly over several years without ever being properly reviewed or cleaned in between backup sessions.
10. Category Based Scanning: Why Filtering to Images Matters
A full disk scan across all 550 plus supported file formats is genuinely useful for a complete audit of the drive, but for a task focused specifically on duplicate photos, filtering the scan down to the Images category alone offers real, practical advantages.
- It significantly reduces scan time, since the app is no longer also comparing documents, videos, archives, and every other supported format alongside your photos in the same pass.
- It keeps the review process focused and manageable, since every group shown in the results screen is guaranteed to be a photo, removing the need to mentally filter out unrelated file types while reviewing results.
- It is easy to run a broader scan afterward, covering Videos, Documents, or Archives separately, once the photo specific cleanup has already been completed and confirmed, allowing the overall cleanup to happen in clearly organized, deliberate stages rather than one single overwhelming pass.
11. Using the Storage Dashboard to Find Duplicates Before You Even Scan
The storage dashboard shown the moment the app opens is genuinely useful on its own, before a single scan has even been started. Seeing exactly which folders are consuming the most space on a drive often immediately points toward the likely source of duplication, such as an old phone backup folder from several years ago that has clearly not been touched since it was first created, or a Downloads folder that has been quietly growing for years without ever being emptied.
Using this dashboard as a starting point before running a full scan helps prioritize which folders or drives are actually worth scanning first, particularly on a PC where the total amount of data is large enough that scanning everything at once would take considerable time.
12. Disk Duplicate Cleanup for Different Types of Users
- Home users running low on disk space benefit most from starting with a full Images category scan on their main internal drive, since photo duplication from repeated phone backups is one of the single most common and highest impact sources of wasted space for typical everyday PC use.
- Photographers and video editors benefit from treating every external backup drive as its own separate scan target, since project folders and exported deliverables tend to accumulate duplication at a much higher rate than typical personal photo libraries do, given how frequently the same shoot gets exported, re exported, and backed up again during a normal editing workflow.
- Developers benefit from running a broader, full format scan rather than an Images only scan, since duplicate build artifacts and dependency folders often sit alongside duplicated project assets and screenshots, and cleaning all of it together in a single pass tends to be more efficient than separate narrow scans.
- Anyone preparing to sell, upgrade, or migrate to a new PC benefits from running a complete scan across every connected drive shortly before the transition, since this is precisely the moment when it becomes clear exactly how much of what is being backed up or transferred is genuinely unique content versus accumulated duplication that never needs to make the move to the new machine at all.
13. Common Real World Situations Where PC Duplicate Photos Pile Up
- A phone gets connected to a laptop repeatedly over a period of years, with the entire camera roll copied fresh into a new folder each time instead of only the photos taken since the previous connection.
- A photographer or video editor keeps multiple export versions of the same shoot spread across different project folders, with only a slightly different file name distinguishing one version from another, none of them ever deliberately deleted once the project is considered finished.
- A PC gets upgraded or migrated to new hardware, and instead of a clean, deliberate transfer process, an entire old user folder gets copied wholesale into the new setup, overlapping heavily with photos that already exist there from an earlier, partial transfer attempt made at some point in the past.
- Someone downloads the same email attachment or a shared photo more than once over time, with a downloads folder quietly accumulating repeat copies automatically renamed by the browser as photo(1).jpg, photo(2).jpg, and further numbered variations.
- A shared family PC gets used by more than one person to import photos from their own individual phones, with no coordination between them about where those imports should be saved, resulting in the same shared family event ending up duplicated across separate personal folders belonging to different family members.
14. Comparing Manual Cleanup, Windows Search, and DT Disk Duplicate Finder
Manual cleanup through File Explorer's thumbnail view works reasonably well for a single folder containing a few dozen photos, but becomes genuinely unreliable and extremely time consuming once a drive contains the kind of thousands of photos spread across dozens of folders that most active PC users accumulate within just a couple of years.
Windows Search can help locate a specific file you already know the name of, but structurally cannot compare file content across the drive, meaning it will consistently miss every renamed duplicate regardless of how carefully or patiently it is used.
DT Disk Duplicate Finder solves the complete problem end to end, scanning every drive and partition, comparing files by actual content through hash based matching, supporting over 550 file formats so nothing relevant gets skipped, and offering a genuine choice of three distinct removal modes so the level of caution applied matches exactly how confident you are in each specific group of results.
15. The Built In Junk Cleaner: A Second Layer of Cleanup
Beyond duplicate photos specifically, DT Disk Duplicate Finder includes a second tool inside the same app called the Junk Cleaner, which clears out system caches, temporary files, and empty folders that accumulate naturally through everyday PC use, editing software, and general browsing over time.
Running the Junk Cleaner as a final step after a duplicate photo cleanup is a natural way to recover additional space in the same session, and nothing is cleaned without an explicit confirmation click on Clean Now, keeping the same review before action principle consistent across both tools inside the app.
16. Best Practices to Stop Duplicate Photos from Returning
- When connecting a phone to copy photos onto a PC, copy only the photos taken since the last connection instead of transferring the entire camera roll fresh every single time.
- Delete the original photo once an edited export has been confirmed and saved correctly, instead of keeping both the original and the edited version sitting indefinitely in the same folder for no ongoing reason.
- Add any folder known to always contain large volumes of temporary or working files, such as an active render or export folder, to the exclusion list inside Preferences, so future scans run faster and automatically skip folders that genuinely never need checking.
- Run a full disk scan on a predictable, regular schedule rather than waiting until the drive is nearly full, since a small habitual cleanup every few months prevents the kind of large, overwhelming multi year cleanup project that becomes genuinely difficult and time consuming to sort through properly later on.
- Establish a clear, agreed upon folder structure on any shared family PC used by more than one person to import their own phone photos, so overlapping imports of the same shared event become far less likely to happen in the first place.
17. A Simple Quarterly PC Cleanup Checklist
- Open the storage dashboard first and note which folders are currently the largest on each drive being reviewed this quarter.
- Run a full Images category scan on the main internal drive, followed by a separate scan on any external or secondary drive used for photo storage or backup.
- Review every duplicate group shown, using Keep Only First for the clearly straightforward groups and manual review for anything that looks even slightly uncertain.
- Choose Move to Bin as the default removal method unless you already have a specific reason to be more aggressive with Permanent Delete for a particular group.
- Finish the session by running the built in Junk Cleaner to recover additional space from system caches and temporary files accumulated since the last cleanup.
18. Frequently Asked Questions
How is DT Disk Duplicate Finder different from Windows Search?
Will scanning my PC upload any of my photos anywhere?
Can it scan an external hard drive as well as my main internal drive?
Will it delete a photo I actually need by mistake?
Does it work on both Windows 10 and Windows 11?
What is the difference between the free demo and the full version?
How many file formats does it actually support beyond common photo types?
Does it require an internet connection to run a scan?
Can I exclude specific folders from being scanned every time?
What happens to a duplicate photo moved to the Recycle Bin during cleanup?
19. Final Thoughts
Duplicate photos on a local PC build up quietly through habits that feel completely responsible in the moment, repeated phone backups, extra safety copies made before a big edit, and downloads folders that simply never get cleared out over the years. None of it looks serious file by file, but added together across years of normal use, it becomes a genuinely significant portion of your total used disk space.
DT Disk Duplicate Finder runs a full free scan across your entire drive, comparing files by actual content across more than 550 supported formats, and shows exactly how many duplicate photos exist and how much space they are wasting, before you decide what to remove.
User Reviews
"Cleared 140GB of duplicate RAW photos on my C: drive without touching my original captures."
"The content hash scan found identical photos even when renamed. Super fast!"